There are dozens of different solutions for building software development environments, with Vagrant and Docker leading the charts. A simple definition of requirements/recipes can define the entire development environment and requirements, then it’s easy to share it with your team (via repositories) and everything will work.
My issue is that both Docker and Vagrant, can be very consuming when it comes to disk space and if you code on macOS that can cause sluggish performance which can harm your productivity.
Symfony server to the rescue!
A year or so I started to using Symfony server as part of Symfony binary. Symfony server turned out to be quite fast, powerful solution that works on different platforms, including Windows. It is quite easy to setup. With Symfony server you get a bunch of features of the box including
- easy way to start a new Symfony project ( Symfony new my_project)
- built-in server (Symfony serve)
- TLS support included (Symfony server:ca:install)
- supporting different version of PHP, easy way to change it
- different PHP settings per project (https://symfony.com/doc/current/setup/symfony_server.html#different-php-settings-per-project)
- easy way to override PHP config per project
- local domain names with local names proxy
- long-running commands
- docker integration
- and much more (more info here)
As you can see, it is very powerful and flexible, also very easy to use. Let’s see step by step how we can set up everything on macOSx without Vagrant and Docker.
Step 1: install brew
The Brew is the best tool you will ever found for managing packages on the macOS. Full with name Homebrew, it is exactly what it is description says: The Missing Package Manager for macOS (or Linux). Installations are quite easy, just run this line:
/bin/bash -c "$(curl -fsSL https://raw.githubusercontent.com/Homebrew/install/master/install.sh)"Once the command is executed, run ‘brew -v’, it should respond with current version of Brew. We will use brew to install all packages, including PHP.
Step 2: Install PHP
macOS comes with PHP preinstalled, but usually, it is not the latest version. You can check it by running ‘php -v’ inside your terminal. Brew allows us to easily install any PHP version. At the moment we want to install PHP v7.4.x, for achieving this we need to run following command in our terminal.
brew install php@7.4Follow instructions on your screen, you will probably need to run this command to complete the setup:
echo 'export PATH="/usr/local/opt/php@7.4/bin:$PATH"' >> ~/.zshrc
echo 'export PATH="/usr/local/opt/php@7.4/sbin:$PATH"' >> ~/.zshrc
Restart your terminal, or open a new tab and run ‘php -v’ and you should see that your PHP version is updated. Something like this:
PHP 7.4.3 (cli) (built: Feb 20 2020 12:23:10) ( NTS )
Copyright (c) The PHP Group
Zend Engine v3.4.0, Copyright (c) Zend Technologies
    with Zend OPcache v7.4.3, Copyright (c), by Zend Technologies
Step 3: install Symfony binary client
Again, quite an easy step, just run this command:
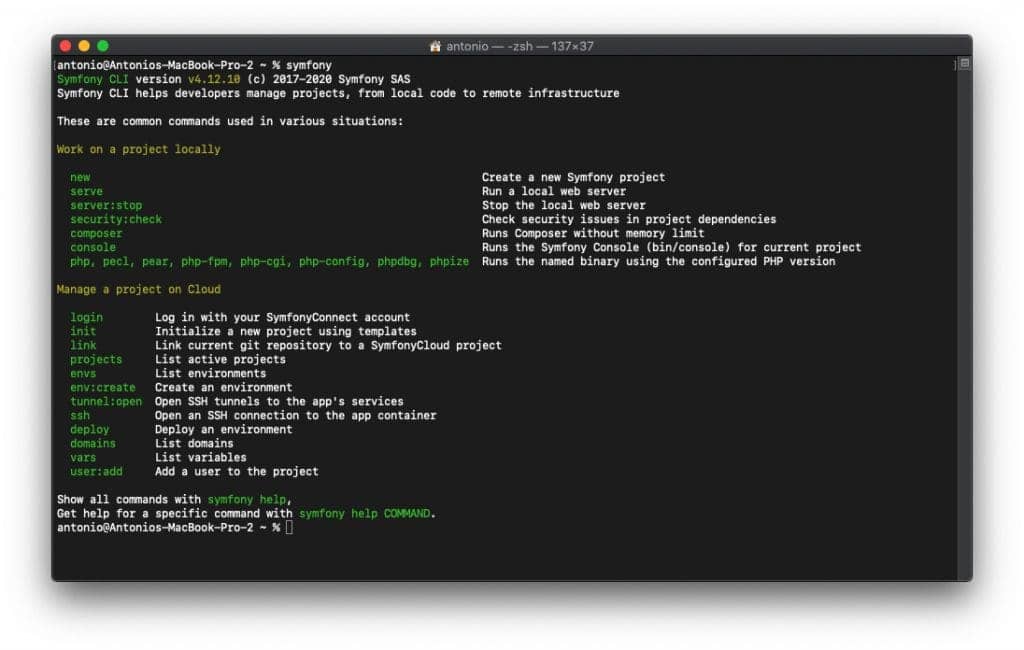
curl -sS https://get.symfony.com/cli/installer | bashOnce the command is completed, run ‘symfony’ to check if it is installer properly, you should see this as a result:
Step 4: Install composer (globally)
If you are working with Symfony framework or PHP you should be aware of Composer. For downloading composer you should follow guide here – download composer.
Once you download it, just run next command to install it globaly on your machine.
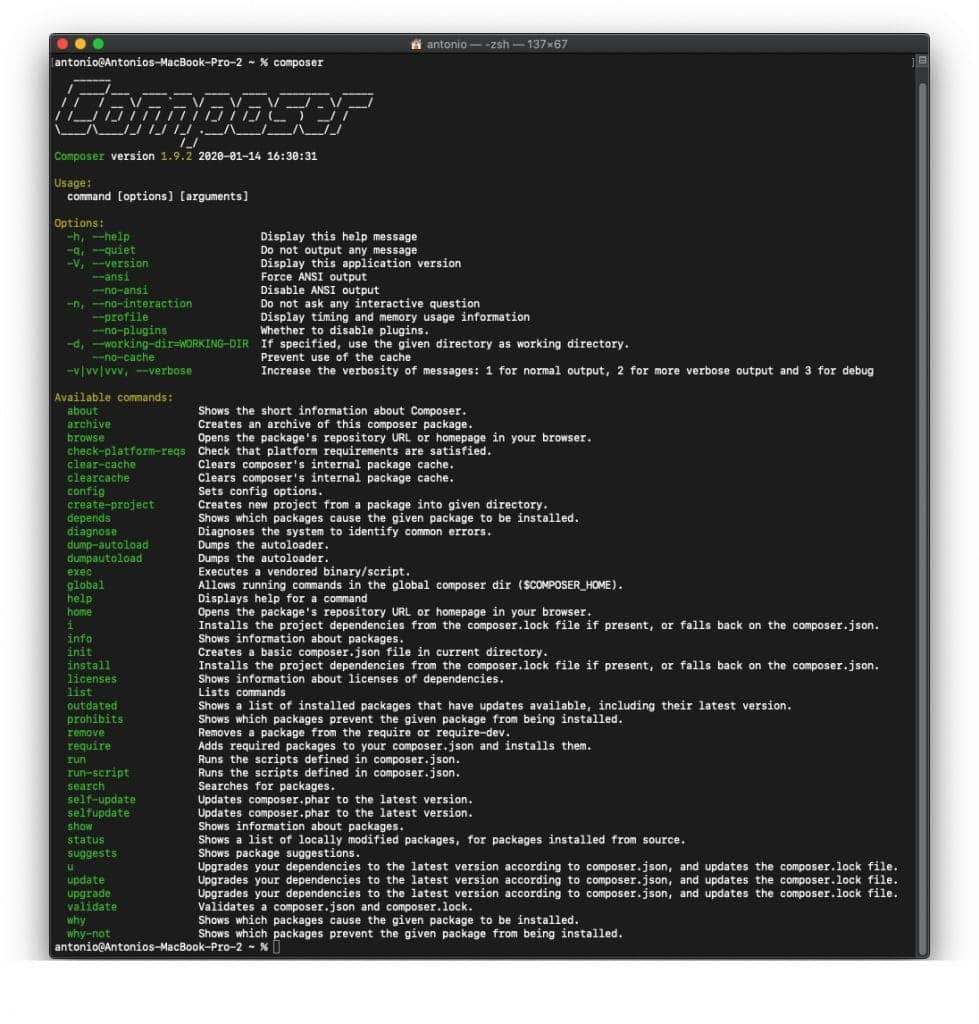
mv composer.phar /usr/local/bin/composerFor tesing, just run ‘composer’ in terminal and you should see the following screen:
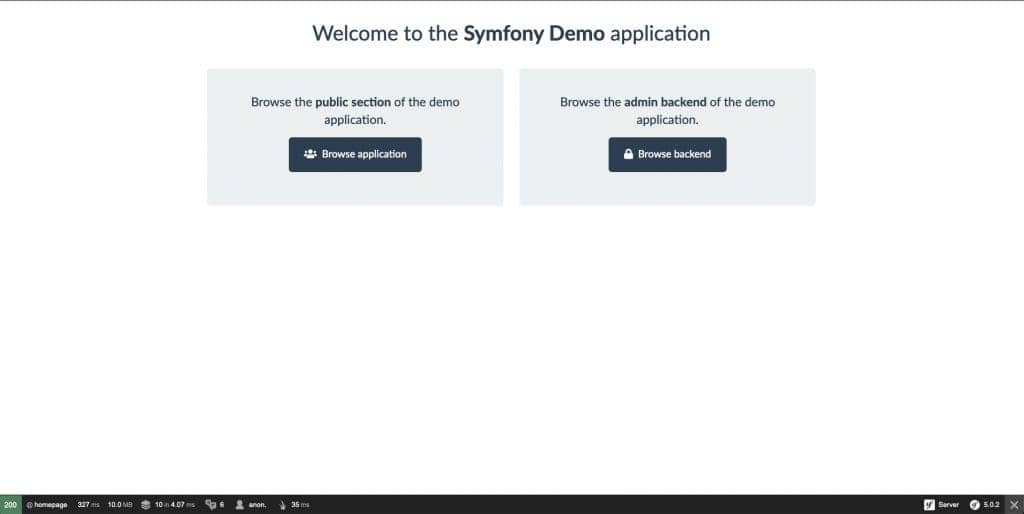
At this step, we already have everything to try some Symfony application without database, we can do that with Symfony demo application. Let’s try it, run following commands in exact order:
symfony new --demo my_project
cd my_project
symfony serve
Once you get Symfony server up and running, go to ‘http://localhost:8000/’ and boom – you have Symfony demo application up and running. You can browse around and play it (note it is using MySql Lite database).
Step 5: Install MySql Server
Again, Brew is the tool. Just run:
brew install mysqlIf you try to connect to database using doctrine, you will probably get error with password hashing, something like this
PDO::__construct(): The server requested authentication method unknown to the client [caching_sha2_password]Just log in to MySql server via terminal (‘mysql -u username -p localhost’), I prefer using MySQL Workbench, but any tool will work, and run this query
alter user 'username'@'localhost' identified with mysql_native_password by 'password’;That should fix your issue, please note that ‘username’ is username of you account and ‘password’ is something you want to set as a password.
You can enable MySql server to start each time your system started, or you can run it manually once you needed with this command:
mysql.server startYou can also download MySql server manually here, but I prefer using Brew for managing packages. It is much easier.

Step 6: Installing yarn, mailhog, wkhtmltopdf and etc
In the first five steps we got all things needed for some basic Symfony project, but you will need some more tools like Yarn for managing frontend dependencies, MailHog for testing emails and etc.
Installing yarn:
brew install yarnInstalling MailHog:
You will for sure need Web and API based SMTP testing tool (for emails), MailHog is an amazing tool for that.
brew install mailhogYou will need to do some additional setup to use it, check official documentation of MailHog.
Install WkHTMLToPDF:
Just go to the official website, and download it: https://wkhtmltopdf.org/downloads.html
We will not use Brew for this 🙂
Install php-cs-fixer
brew install php-cs-fixerHappy coding!
And that is it, with this setup you have everything you need for developing most of Symfony applications. It includes:
- Symfony/PHP server with different PHP versions
- MySQL server
- Yarn for managing frontend dependencies
- MailHog for testing emails
- WkHTMLToPDF for creating nice looking PDF files
If you need something else, for example, RabbitMq server, just search for Brew recipe for it and install it using Brew. Just note, if you are using ElasticSearch, brew will install v7 and that is still not supported by FosElasticaBundle so you need to install v6. You can download it below, and just run it with:
bin/elasticsearch