
A couple of years back, we started noticing a number of issues with our client meetings (especially those with complex requirements):
- Lack of a real agenda
- We were overcomplicating the scope of the project
- There wasn’t enough engagement from the client
- We didn’t have the right people with the right questions in the room
- The meetings would sometimes become too long and tiresome
- We didn’t focus on coming up with a solution to the real problem
In my search for a better approach, I came across different types of meetings and workshops but nothing really sparked that “AHA!” moment. However, Paula attended a talk on the topic of EventStorming and suggested that I look into it because it seemed to her like the perfect solution for the issues that were troubling our team.
After getting my hands on the book Event Storming by Alberto Brandolini and attending a workshop Discovering unknown with EventStorming by Mariusz Gill, I started implementing this method to our projects more and more.
Even though there’s much more depth to it, the Big Picture workshop which is arguably the simplest form of EventStorming is my favourite session because it’s the easiest to explain to clients and uninitiated team members to get them fully involved in the process.
I’ll do my best to explain how we do it.
Before the meeting
I suggest having one team member that is comfortable with being the facilitator for the meeting. This role should help stir the meeting in the right direction, make sure all attendees are involved, everyone understands the session etc. Also, it’s important to prepare a meeting room with:
- A lot of long (and preferably) empty walls
- A whole bunch of post-it notes in all different colours and pens/markers
- A big roll of paper to stick to walls (and obviously a paper tape to do it)
- Enough space for people to move around
- A whiteboard or flipchart or large notebook – for the legend
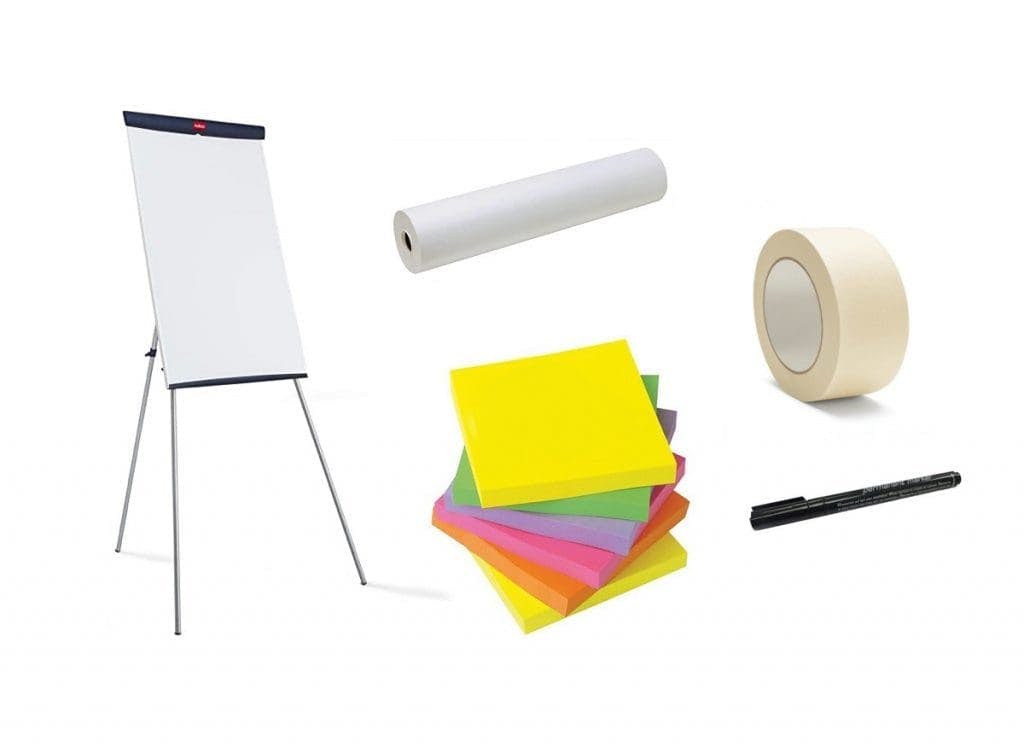
Figure out together with your client which people need to be part of the workshop. They should be crucial for understanding the problem at hand, at least one of them should be a decision-maker and you should try to cover as many different relevant angles as possible. For example, if the topic is an ordering process (for a webshop) you should involve representatives from sales, marketing, finance, inventory, shipping departments and other roles directly affected by the process.
Legend (Part 1)
Events
Represents an event happening in the process we’re trying to map out. Rules are:

- It has to be a bright coloured post-it note. Alberto and Mariusz suggest orange so that’s what we use
- It has to be written in the past tense. An example would be “Order placed” instead of “Place Order”. There are a number of reasons for this, the most important being the fact that this gives the event a finality and placement in time, as well as leaving the present tense for other elements that appear in later sessions such as Commands.
- It has to be relevant for the process at hand
Notes

Used to capture any information related to Events such as data that needs to be collected, definitions or explanations of certain actions etc. We use a regular white sticky note so that it’s neutral and easily recognizable from other post-it notes.
Hot Spots
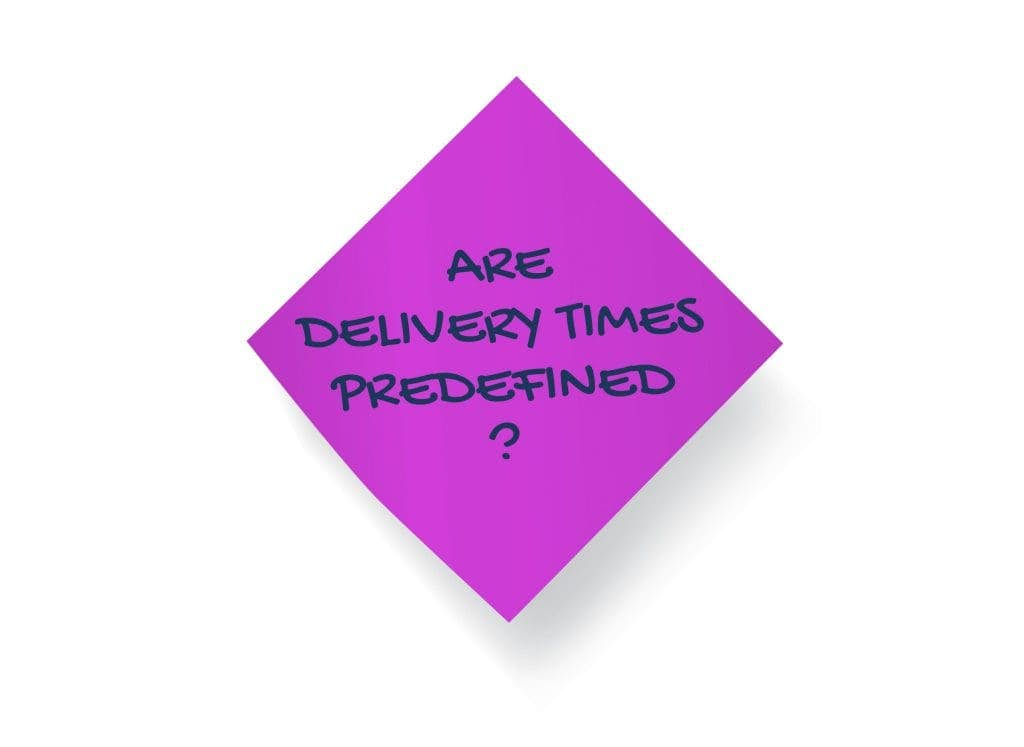
This element represents crucial questions and issues that need to be answered and addressed before the actual implementation starts. If there’s a question in the room that is important and no-one knows the answer to, or it’s too complicated to give an answer straight away, it’s a good sign of a Hot Spot. We use a purple sticky note, but I suppose other vivid colours would work as well.
Big picture session
1. Introduction
The facilitator explains to all workshop attendees that a large scale collaborative exploration is about to happen. All elements that are going to be used should be shown on the Legend (remember the whiteboard/flip-chart) but I suggest introducing them one-by-one as the session progresses. The first element that should be introduced is the Event. Show an example of a properly written Event (past tense and all) and continue with the first phase
2. Start in the middle
A successful approach for me is to engage all of the participants with the question – “What would be an event that happens in the middle/centre of the whole process timeline?”. If we’re using the example of an ordering process, would that be “item added to cart”, “order placed”, or “payment confirmed”? Once there’s a consensus, ask one of the participants to place the orange sticky note at the centre of the large piece of paper (remember the paper roll) you taped to a wall. This is a good point to mention that the facilitator shouldn’t do all of the work while other participants are sitting and yelling suggestions at him. This should be a team effort, and it’s suggested to even remove chairs from the room as an incentive to keep everyone active.
3. Exploration
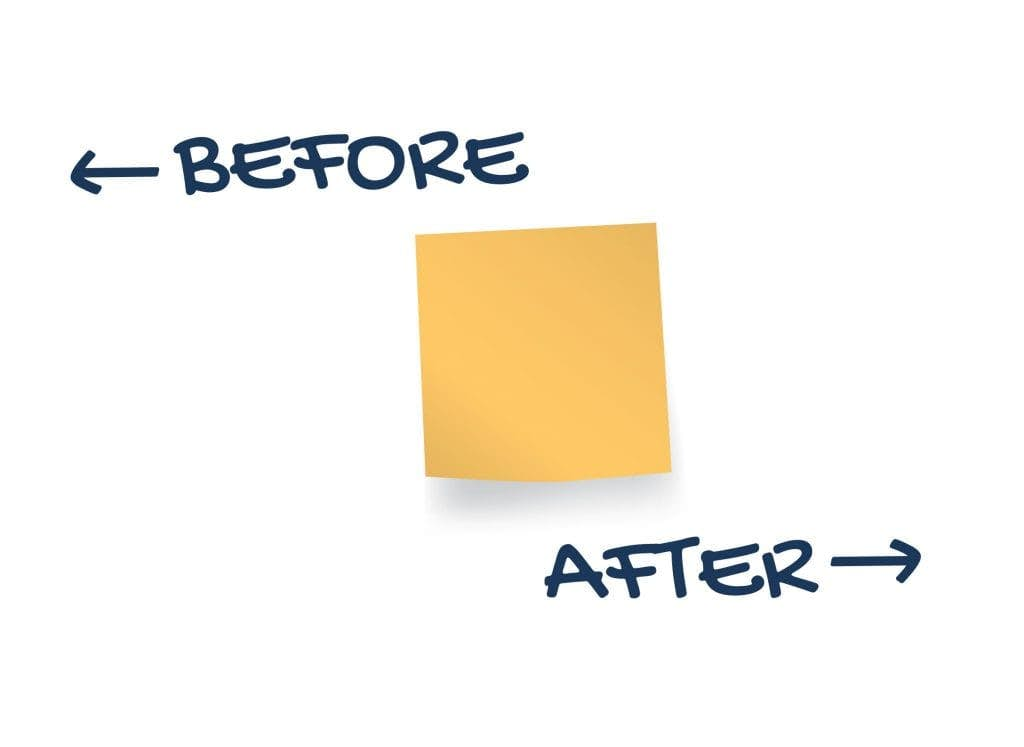
Now that you determined the centre of the process, ask everyone to try and fill in the event timeline before and after the central event. What happens right before an order is placed? What happens after it? At this point it’s not important to enforce the timeline, it’s actually quite similar to a brainstorming session. All participants should be involved and start writing Events and roughly guessing their placement on the timeline.

Once the facilitator notices that the process of adding new events is slowing down, you will be tempted to start grouping same/similar Event notes together. Don’t do it yet! If you notice a lot of stickies that are worded in a similar fashion but are not really the same Event, it’s probably a clue that this part of the process affects different roles and has multiple layers. Removing or correcting Events that weren’t written in the past tense, or are misplaced is beneficial. Don’t be too strict though, if you scare a participant with pointing out too many mistakes, you might lose a valuable perspective because of technicalities.
4. Define a clear timeline
Once the exploration phase is finished, you will notice a lot of different clusters, some connected some not, on your wall-taped paper. There will be events that happen at the same time, events that should be in a different place, probably even events that don’t belong in this process.
My approach here is the following:
- Ask the team to try and locate crucial events in the process, the ones that hold together a cluster of sticky notes. Don’t focus on the proper position in time right now, just try to create groups of smaller processes. Take a piece of tape and place it horizontally above the cluster, and use a pen to name it.
- Start from the beginning – the team should pick a person to be the narrator. Their task is to try and talk the team through the whole timeline, starting from the first event. This will, of course trigger a lot of discussions as new events might come up, some might be removed or changed etc. The team will slowly start to build the process in its whole from the first event to the last.
- Start from the end – this is a great trick to do, especially after the last point when the team thinks they have it all properly sorted. The narrator should try and talk the team through the timeline but going backwards, starting from the last event. The reverse process forces the team to think differently, as you need to think about the causality of each event. It’s a great way to detect skipped portions of the process.

Hot Spots – if they didn’t already come up prior to this step, you will most certainly see them now. All of the crucial questions that are mentioned should be written down on the Hot Spot sticky notes and placed next to relevant events. At the end of the workshop, you will see clusters of brightly coloured Hot Spots on the timeline. In my experience, these clusters usually help detect the key events in the timeline that are causing your client the most trouble, and should actually be the focus of your efforts. Solving these Hot Spots will dramatically improve the process, and that’s why we’re here. An example would be that the process from the order to delivery is too slow and some questions would be “Why is there so much administration?”, “Why 3 different people need to confirm an order before it’s shipped?”.
Tips:
- Switch the narrator, don’t always have the same person talk the team through the timeline
- Move things around – as the team is building the timeline, don’t hesitate to move those post-it notes around.
- Crumble and drop – all of the post-it notes the team decided to remove should be crumbled and thrown on the floor in front of the timeline. It’s a great visual representation of how much the timeline has been cleaned up and thought through.
- Use your Note stickies – write down things that you think might be helpful later in development, data that you know you will need later on, important info that came up while discussing an event etc.
- Don’t be afraid to use extra space, tape up that roll of paper!
- Don’t forget to take a break in between steps if you sense the team’s getting fatigued
I consider these 3 phases the core of the workshop. They still don’t have too many elements, it’s a great introduction to a new way of thinking and working, plus clients that aren’t tech-savvy won’t have an issue understanding all of the elements.
** UPDATE **
Keep scrolling, Danilo just released the sequel!to the BigPicture Eventstorming series!