This is the sequel to Big Picture Eventstorming, where I’ll show you how to update the Legend with new users, opportunities and costs – but before we get improve the narrative, make sure you went through the first part of the blog to get to understand the basics of BPE.
So far we’ve covered the following phases:
- Introduction
- Start in the middle
- Exploration
- Define a clear timeline
Before we continue with the rest of the phases, we need to upgrade our Legend with new elements.
Legend (Part 2)
Users
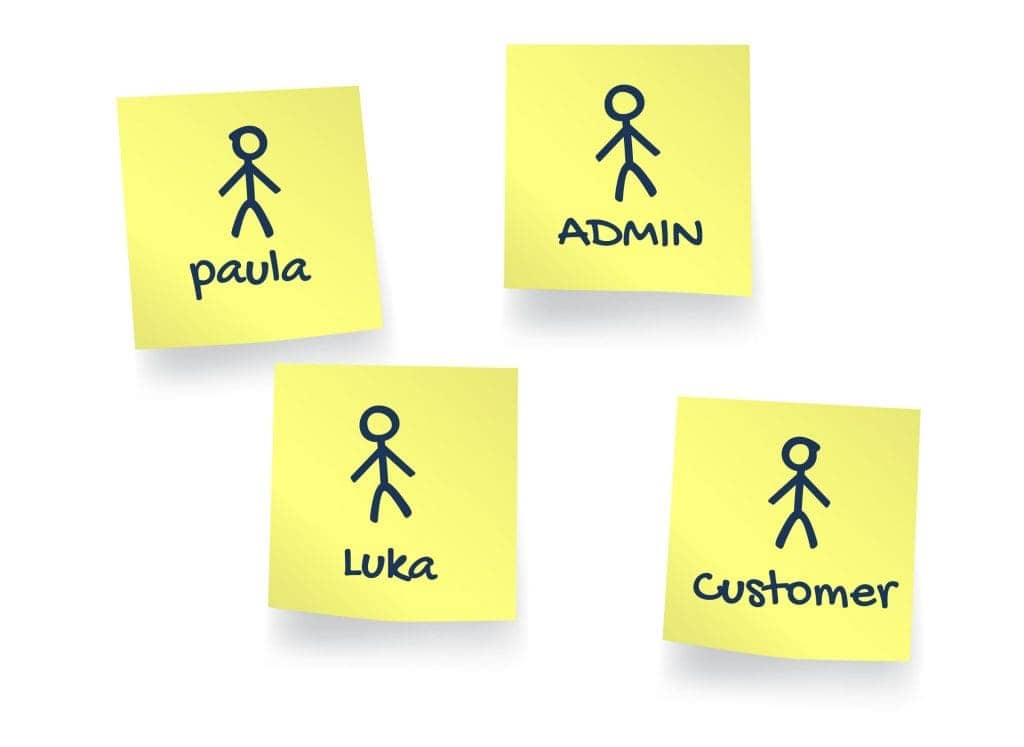
This element is used to determine which user role is participating (or will be affected) in which event. As they’re placed next to events on a timeline it also helps determine at which point in time a certain role will be part of the process. Small yellow sticky notes are what we use here. Examples would be Customer, Admin, Shop Owner, Marketing Manager, etc.
Systems

If there are generic external or internal systems that are important for the process to function (for example Dropbox, PayPal, Buffer) they are written on a larger rectangular sticky note and placed on the timeline next to the event they affect. Suggested colour is violet/pink, but we use any larger sticky note (besides orange and blue) because its size makes it stand out.
Opportunities and Costs
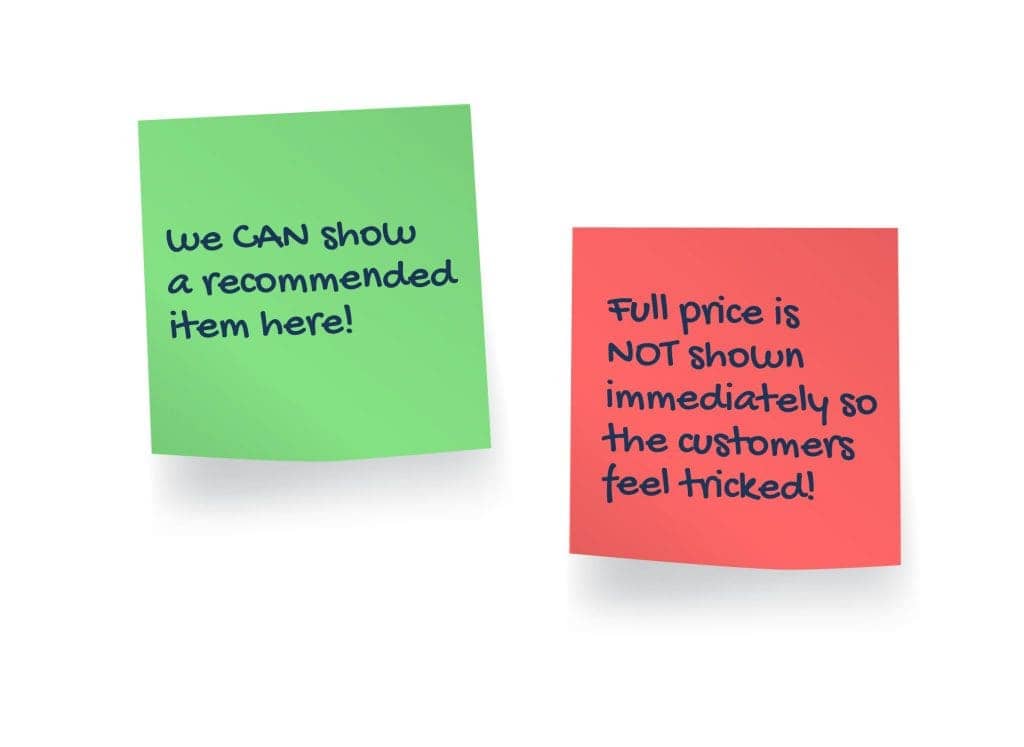
This element is used after you’ve determined and cleaned out the process timeline. Green and red sticky notes are used to determine opportunities and costs in the process. For example next to a “Item added to cart” can be a green note that symbolizes the opportunity to upsell a similar item that other customers bought. Next to a “Payment declined” event, a red note would symbolize someone leaving the purchase funnel.
Big Picture session
5. Adding Users
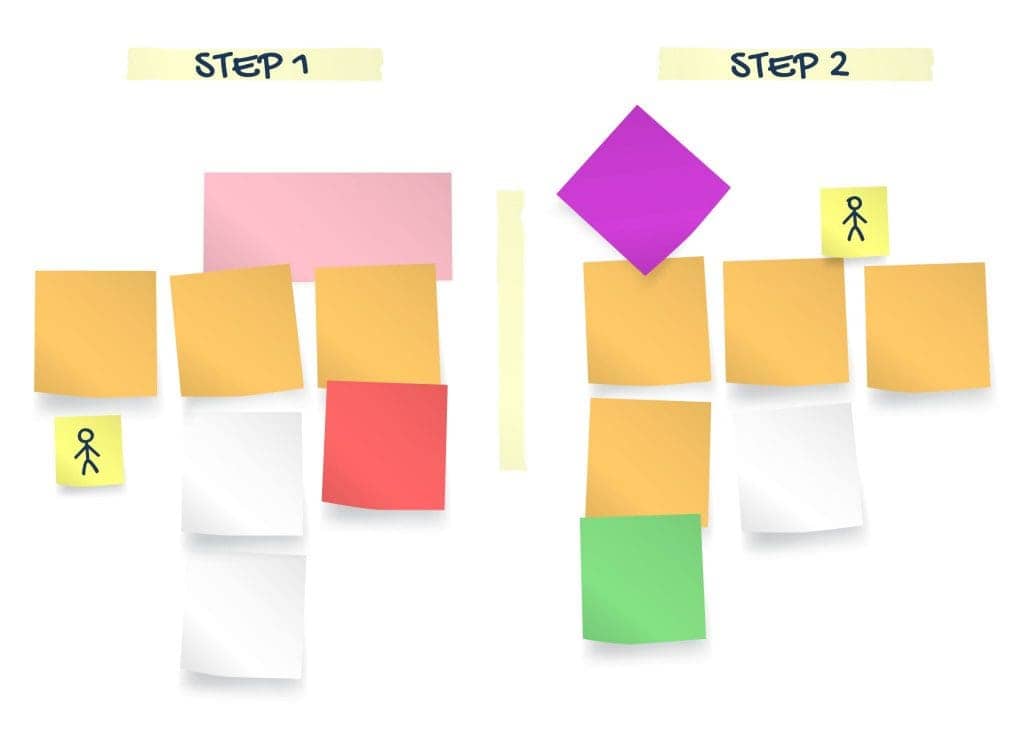
As I’ve mentioned in Part 1 of this blog post, events will affect different people in the timeline. In this phase, the team should once more go through the timeline and place User sticky notes wherever they cause, affect or are affected by an event.

There are no precise rules here – the User sticky doesn’t have to be a User Role (the way it’s thought of in development). It can be a specific person (Paula, Marko, Luka), it can be a job position (Sales Representative, Marketing Manager), it can be a variation (Regular Customer, Guest) etc. The less constraints you place on the User element, the more it will feel inclusive for all team members as you’re avoiding “tech-slang”.
If, for example, you have an Event “Order Place” it will affect people from the sales team, the delivery guys, the customer etc. You can stick them next to the appropriate event. Sometimes your client will have an employee that is synonymous with his job position, and instead of calling it Sales Representative it will be Toni. Embrace it.
Tips:
- Only place the User sticky were it’s important for the event – where it adds more clarity or might even trigger a new discussion resulting in new events
- If you need to extend or change your current timeline – GREAT! That means you are discovering and learning more about the whole process
- Again, if you need more post-it notes, more wall space, more pens – do it
6. Adding Systems
There’s a good chance the flow you’re working on is affected by outside systems in certain places on the timeline. These systems can be internally developed (an API you’re using to pull the data from) or external (such as cloud services, or social media platforms). It can also be a partner organization, a government body that is crucial for the process to work, a regulation (think GDPR) etc. Next to a “Item added to cart” you know that your Stock management system needs to reserve that item until the purchase is made or dropped.

It’s not unusual that a system becomes a Hot Spot cluster or that it triggers new events that are focused around it. These can even detect clusters inside an organization, as some members won’t even be aware a system is used or will be shocked that it’s still the option that’s being used. As always, don’t be afraid to reorder things in your timeline.
7. Clean-up
Double-check the timeline, go through the events forwards and backwards and try to get a consensus from the team that the process is complete. If you have events happening in parallel, I suggest dividing them into horizontal swimlanes. If they are branching, you can draw arrows on pieces of paper tape from the event that’s causing the branch. A good idea is to also divide the timeline into sections using the paper tape (name those clusters).
8. Finding Opportunities and Costs
The goal of this phase is to detect events that provide a business opportunity or cause a loss of profit/issues with the flow in general. All team members are free to give their opinion and place the green and red post-it notes next to events (or systems). Of course, be sure to write down any suggestions or solutions that come up in these discussions.
Next to a Order Placed cluster, you can add a green post-it that says “We can give loyalty points to this user!”, or add a red post-it that says “We need to track our conversions better on our thank-you-page!”.
A lot of costs/problems will already be evident from the Hot Spots placed in previous phases, so try and focus on their solutions. It’s also a great opportunity for the team to directly emphasise them to the decision-makers in the room. It’s unrealistic to expect solutions to come up immediately, for some of the problems that appeared on the board are years in the making. At least now they’re clearly visible and are understood by everyone in the room.
After all of the phases are done (this might take a couple of longer sessions) you should end up with a very clear understanding of the problem you’re trying to solve. For us, the next step would be getting into wireframes/prototypes and UX suggestions based on the Big Picture flow.
This is a great tool management wise, as the workshop itself brings both your team and the client on the same page regarding the scope of what needs to be done. Also, you can isolate specific clusters and do more detailed Event Storming sessions (with a lot more elements) to analyse them further. Event Storming reminds me of a hands-on collaborative approach to creating a Event-Driven Process Chain diagram (EPC) without the technical jargon and strict rules and it’s equally useful for all parties.
I’d like to once more point out the amazing book Introducing EventStorming by Alberto Brandolini, as well as one of the best and most useful workshops that I’ve attended called Discovering Unknown with EventStorming by Mariusz Gil. Mariusz also has a great git full of resources for Event Storming you should definitely check out.
Hope this two-part blog was an interesting read, will motivate you to look into Event Storming and apply it to your business process. I’ve tried to explain the way we do it (so far), and I’m sure some things could be done better or different. There are much more steps you could include and specific advice mentioned in the resources above, but where would the fun be if there’s nothing to improve and learn from.
I would love to hear some suggestions for other workshops and methods that you do, so please leave a comment or reach me at danilo@locastic.com.